Thursday, May 30, 2013

Doll Craft 13: Make Your Doll an Ipad!

  Does your doll want to stay on top of technology? Has she ALWAYS wanted to play on an Ipad with apps and everything? Well, if she has, then here is her chance! You can make her an Ipad! Here we go!
Things Needed:
Scissors
Glue Stick
Tag Board or something sort of thin, but firm
Clear Packing Tape (optional)
Printer
Computer
Level of Crafting: Medium (may need adult help)
Step 2: Cut it out carefully! (You can use non-sharp or sharp scissors, but I used non-sharp)
Step 3: Cut the black in the middle of the back and front of template.
Step 4: Get a thin but firm piece of paper (like cardstock)
Step 5: Cut out a piece of the paper for each Ipad. Make sure it matches up to the shape of the template.
Step 6: Glue all of them together, and you should get this! But wait! You aren't finished yet!
Step 7: Cut off any loose edges to make it look like one whole piece.
Step 8: Put clear masking tape on the Ipad (this may be difficult, so adult help may be needed, I had my mom help me).
Jasmine sure is enjoying it! Don't get addicted Jasmine! :)


Doll Craft 12: Make Your Doll a Lamp!

  Does your doll love to read at night? Or maybe she just has so many ideas in the middle of the night, so she needs to write them in a notebook! Well, she can't do that without a lamp, can she? Today, she will get a lamp, because we are giving you a tutorial to make one for her! Here we go!
Things Needed:
Colorful Paper, or Tissue Paper
Glue Stick or Adhesive Roller
Scissors
Plastic Cup
Cardboard roll from a roll of paper towels (or toilet paper)
Crafting Level: Medium
Step 1: Get your cardboard roll (I used a paper towel roll).
Get your scissors. Make sure to use pointy tip ones (have adult supervision if you usually use kid scissors like me).
Cut your roll at about over halfway down. It may be complicated if you don't have point tip scissors.
Then, get your colorful paper. If you don't have any tissue paper, or colorful paper in your house, then you can just get a blank sheet of paper and color it!
Now, get your glue stick, or adhesive roller. I used an adhesive roller, but both work great!
Glue down the paper to the cup. Cut off any extra unnecessary pieces of paper. Do the same thing to the cardboard roll.
 
 
Here is the finish product! Now your dolls can read at night, with their very own lamp!!!


Friday, May 24, 2013

Doll Craft #11 - Science Fair Fun!!!!

Yeah, I know what you are thinking. Ummm, Madi, how could the Science Fair possibly be fun???? Well, isn't. For us humans, anyway :) But, dolls are a different matter completely. For, my dolls' science fair, they made lava lamps. Have your dolls make homemade lava lamps to! Just follow the instructions below...
 Before you begin, you will need some supplies:
  • Two small, plastic cups
  • Food coloring
  • Salt
  • Cooking oil
  • Water
  • Small, clear, plastic bottle (I used an empty Bath and Body Works hand-sanitizer bottle)
  • Paper towels (this can get VERY messy)
  • Tape (optional)
  • Dish soap (optional)
Lets get started!
 Spread your works surface with paper towels or newspaper. Take out your clear, plastic bottle and wash it out. If there are any labels, run the bottle under warm water and dish soap. Peel back carefully. Use the tape to take off the sticky residue. 
 Remove the cap.
 Take out one of your small plastic cups and fill it with cooking oil with enough that should fill your plastic bottle about 3/4 of the way.
 Pour it in (I accidentally didn't add enough in this pic, but I added it later :p)
 Next, fill the last 1/4 of the bottle with water. You can use the other small cup to measure. The water should sink to the bottom.
 Great! Now, take out you food coloring. I used blue, but you can use whatever color you wish.
 Add about five to ten drops.
 Wait a few minutes. Your drops should "melt" into the water as shown above.
 Once all of the drops have "melted" into the water, take out your salt, and add about a small pinch into the mixture.
 Wipe off your bottle with a wet paper towel and then dry it. Screw on the cap tight. When you think that it is tight enough, screw it on tighter. We don't want ANY of this stuff leaking out. It could cause a BIG mess.
Turn it around and around, upside down, whatever, to see the lamp in action. If you don't have any dolls, this could make a cute desktop trinket :)

WARNINGS
DO NOT GIVE TO LITTLE KIDS!!! WE DON'T WANT ANYONE TO SWALLOW THIS STUFF!!

Till next time,
Madi :)

Monday, May 20, 2013

Doll Craft #10 - Get Ready for Summer: Flip Flops!!!!

Hey Girlies!!!
Long time, no see. Anyway, I've been busy on a super fun (but long) project, and I want to share it with you. (Yeah, I know it isn't THAT long, but I have a life ya know XP) So, lets get started and get your doll ready for the summer by making her FLIP FLOPS!!!!!!

 Before you begin, you will need some supplies:
  • Small square of foam core
  • Duct tape 
  • Yarn
  • Doll (to measure feet)
  • Scissors
  • Pen or Pencil
  • Masking tape (optional)
  • Elastic (optional but suggested)
  • Liquid glue (optional)
  • Parent or guardian to help you (optional but strongly advised XD)
 First, use your pen or pencil to trace your doll's right foot on the foam core. Repeat with the left.
 Make sure to label them so that you don't tell them apart.
 Ask your parent/guardian to help you cut them out. The edges don't have to be perfect; you will fix them later.
 And here is where you fix them!!! Cover the feet with duct tape all around, smoothly. This can be a bit frustrating but don't give up! Set them aside.
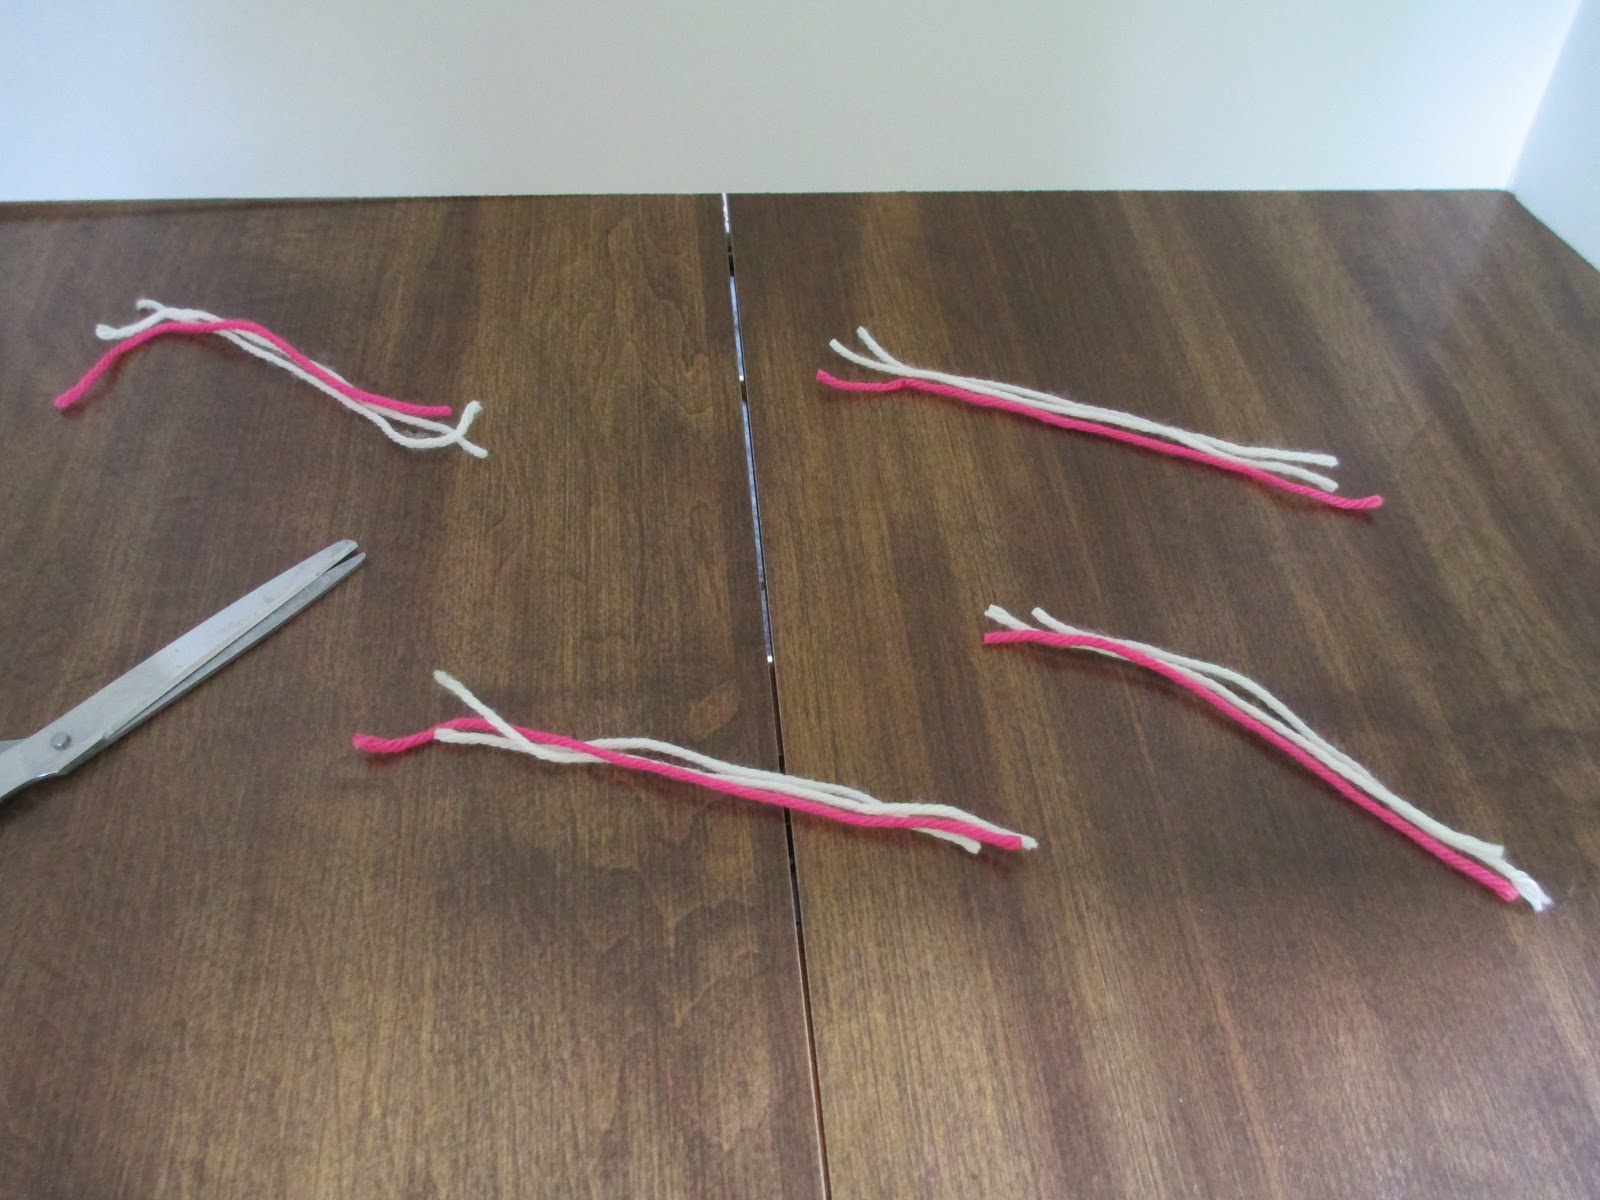
 Great! Now cut out twelve(12) pieces of yarn, about five inches each. You can use different colors!
 Separate the pieces of yarn into four groups with three pieces in each (see above). Mix and match colors if you would like!
 Tie a knot towards the end of of of your four groups. Tape the knot down onto your work surface.
 Braid the three strings together as show above. Leave about a half to one inch on the end.
 Tie a knot. Your final piece should look like the picture above. If you want, spread clear liquid glue on the yarn to stiffen it, and let dry overnight.
 Repeat the process with the other three groups.
 Awesome! Now, ask your parent/guardian to poke three holes in the flip flop as shown above.
 Now, pay attention to the pictures. Take one end of the knot and poke it through one of the side holes, front to back. Repeat with another. Use the pic above for reference if you get confused.
 Here is the bottom view (above):
 Get out your duct tape again and tape down the two knots sticking out at the end as shown above.
Good! Finally, thread the two knots on the front through the hole at the top as shown above. Tape them down on the bottom of the shoe. if you want, tie and elastic strand around the two ends to hold onto your dolls feet! Repeat with the other shoe and you are done!

Till  next time,
Madi :o

Monday, May 6, 2013

Doll Craft #9 - May Flowers!

April showers bring May flowers. Unfortunately, the showers aren't much fun, because your doll can't enjoy the BEAUTIFUL outdoors. And then when the flowers come, if your doll allergic to pollen like mine, you can go outside anyway :( Well problem solved! Now your doll can enjoy flowers without being super uncomfortable, AND have a neat school pen in the process! Here's how!

 Before you begin, you will need some supplies:
  • A mini pen (found at dollar or party stores)
  • Colored duct tape 
  • Scissors (not shown)
Let's get started!
 If your mini pen has a cap, remove it.
 Next, roll out the duct tape to about 6 inches as shown above.
 Place your pen on the edge and roll slowly upwards, keeping the duct tape as smooth as possible.
 Cool! Your pen should look like this (above):
 Next, cut a small square of duct tape, only about one inch or so across.
 Fold down the top corners like you would to make a paper airplane ;)
 Attach the still-sticky part to the back of your pen, like this.
 Make another one, the same exact size. Stick it to the pen like as shown above.
 Repeat until you have about five layers of "petals". Make sure not to do to many petals, as the pen will become top heavy.
 And here is your May flower! Enjoy!

 Madi <3